Pages

Tuesday, January 18, 2011

Rellenong Talong

Rellenong talong is stuffed eggplant.  My other pride and joy of the week.  The first time I attempted to make this a few years back, I really screwed it up and I haven't made it again until now.  I'm kind of embarassed that I couldn't figure out how to get the eggplant and meat to stick together at the time.  I even asked my mother how she makes it and from what she told me, I swear I followed her instructions.  Now a few years later and on my recipe perfection kick, a little bit of research has produced me perfect results.  Why I didn't think of this before, I have no idea.

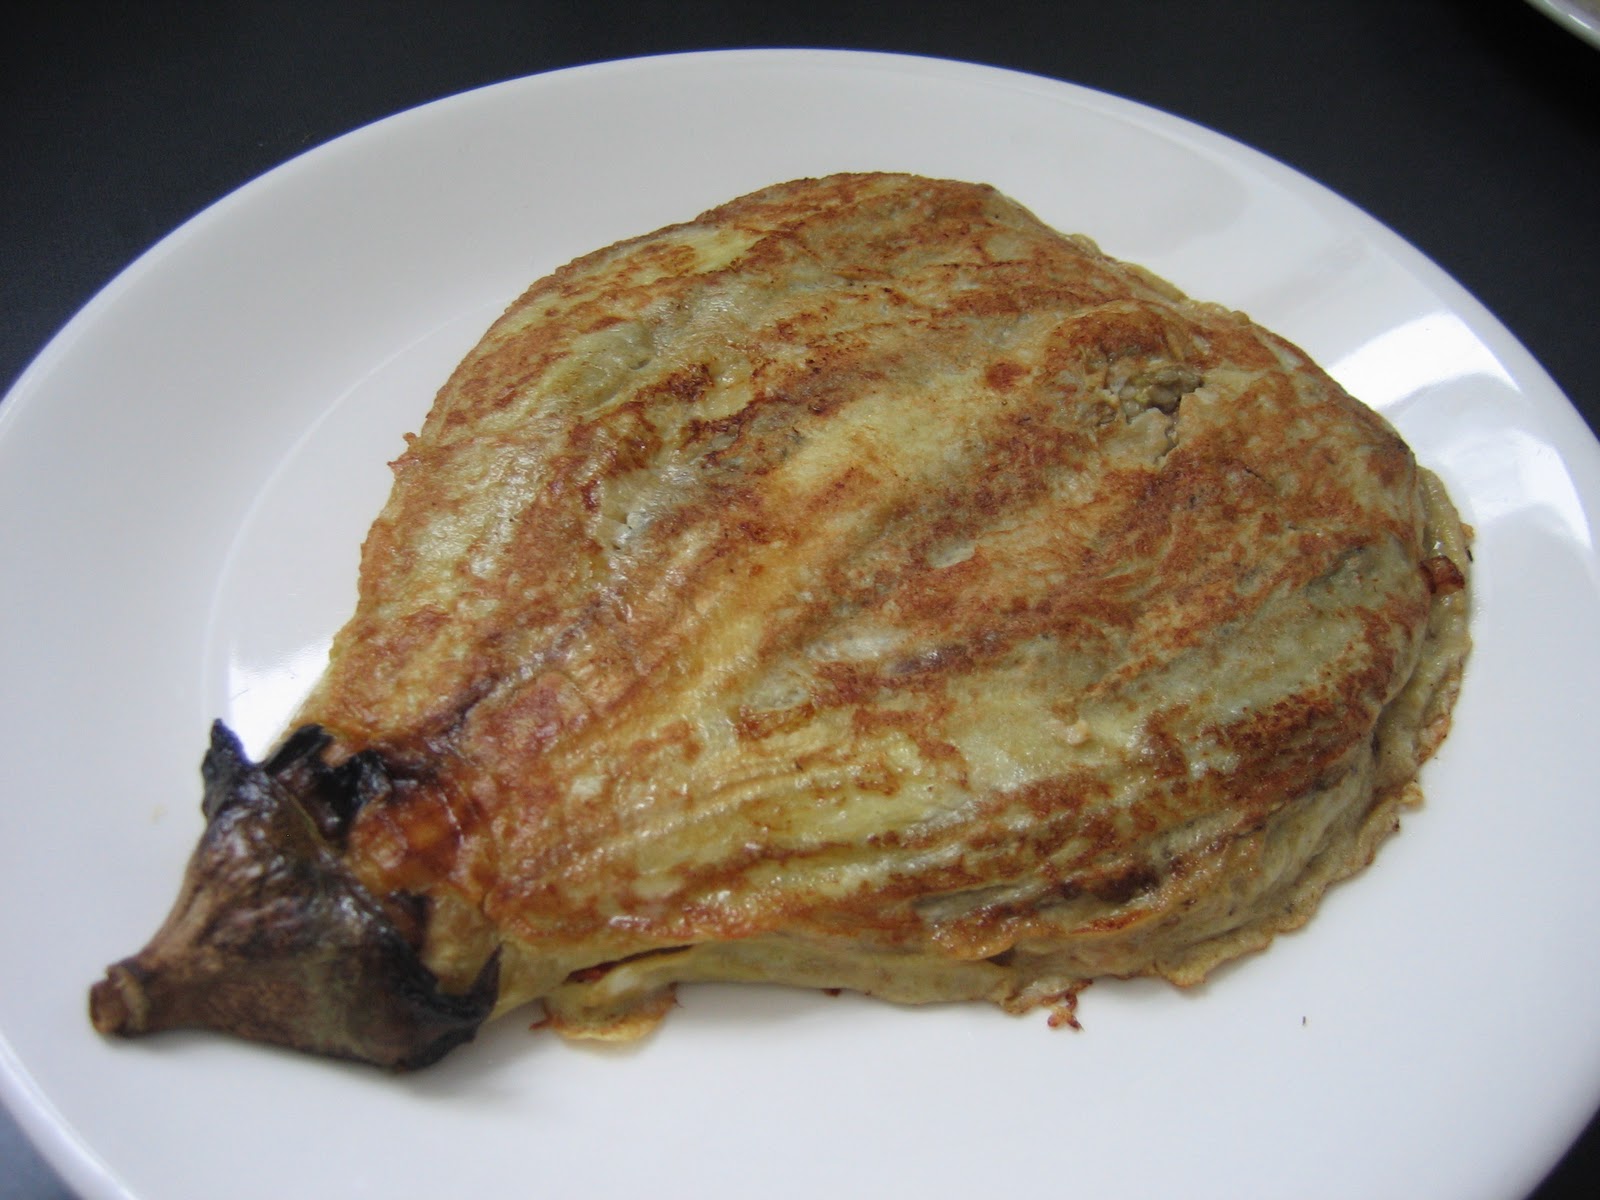
It starts off by broiling an eggplant.  Cut in half, it's laid skin side up, then put under the broiler just long enough to allow the skin to peel off and soften the meat a little.  About ten minutes.  Once it's peeled, it can be set aside to cool while you cook the meat filling.

The meat filling is very simple with four ingredients.  Onion and garlic are sauteed in a frying pan.  The ground beef is then added and browned, followed by diced tomatoes.  Salt and pepper to taste, drain off the excess fat and then set aside to cool.

Heat up a little oil in a clean frying pan using medium low heat.  Grab a couple eggs and beat them in a bowl.

Take an eggplant half and carefully press it flat.  You can lay a paper towel over it to soak up any extra juice it seeps.

Holding it by the stem, dip the flattened eggplant into the egg, then lay it into the frying pan "skin side" down. While that side cooks to a golden brown, cover the top of it with the meat mixture.


When the first side is browned, pour a little bit of the beaten egg over the meat, then carefully but quickly flip the eggplant over and let it brown and cook through on the other side.  Slide it onto a plate.


It's great for any time of the day, breakfast, lunch or dinner.  Serve it with rice and ketchup.  I think if I were to serve this in a restaurant, I'd forgo the ketchup and actually serve it with something like a sweet and sour tomato relish or sofrito. 

Ensaymada!


Oh yeah, those are some sexy empanadas if I do say so myself.  Yes, I'm proud of these little buggers.  I get all giddy when I feel like I've made something to truly be proud of.  And these ensaymadas are one of two things in recent days I've created that literally made me dance with glee when they were done.  Also, I'm just enjoying saying the word sexy right now.

Sexy.

I adjusted the recipe one more time.  Party because I did take my sister's comments to heart and so tried shortening the dough a little by adding a touch more fat to soften it up.  I also did it because I like round cooking numbers like 4 ounces of butter versus 3 ounces.  And, yes, if you were ever wondering why fats, particularly solid ones, are call shortenings that's why.  They shorten gluten chains in doughs for crumbier baked goods.

Here's the dough after its final knead, wrapped up and ready for its last rise.  I love bread dough.  I love being able to hold it.  Unlike cake batter.  I love just watching bread develop as all the ingredients are kneaded, left to rise, cut, shaped and baked.  I 'cheat' by the way.  Well, not really.  But honestly, I probably wouldn't bake bread if not for my Kitchenaid mixer.  I love that thing and its dough hook.  Anyway, a dough like this, where you add a bunch of fat towards the end, starts out a gooey mess.  But after ten minutes of kneading, it slowly comes together to form this stretchy, satiny, smooth ball.  It's magical.

Once it's risen, the dough is then punched down and divided into 3oz portions.  Each one is then rolled out to a long sheet and cheese is sprinkled along it's length.  I'm using cheddar cheese.  Another commonly used cheese is edam.  I may try it next time.  Or maybe a sharper white cheddar.  That's right, certain parts of the recipe are never set in stone.  Heh.  Not everyone puts cheese in the middle.  But I like the idea of having that extra flavor actually in the dough, not just on top.


The dough is then rolled lengthwise, enclosing the cheese and forming a rope.  Pinching the ends closed the rope is then twirled into a spiral and the end is tucked under the roll.


Now, you can place this little spiralled roll into muffin tins or cups.  This time, though, I chose to be more 'rustic' and fell back on its Spanish roots as a free standing roll.


There they are, waiting for their final proof before baking.  The finished roll looks kind of like a little turban, which compels me to mention a little bit more about the history of ensaimada.  It's believed that the pastry was originally an early medieval arabic or jewish baked good and came to the Iberian peninsula through their culture.  And originally it was made with butter.  Then the Spanish Inquisition occurred and the Catholic Church forced the conversion of many Jews and Muslims.  And to insure they were truly converted required that all  their pastry be made with pork lard, since pork was a forbidden meat among those religions.  That is why the ensaimada and a number of other Spanish pastries call for lard.  Thus ends the history lesson.

And here's what they ended up looking like on the inside.  A beautiful, soft crumb with swirly holes of cheese.  Sexy.

Monday, January 17, 2011

Attempt Two

So the second attempt at ensaymada was much better.  Not perfect, but better.  Tried a few different things to correct the recipe.  First, I added a little more yeast, a half teaspoon.  I went with 100% all-purpose flour.  And I tried one other thing and that was to make bigger portions.  Bigger portions was a slight mistake, but not something that can't be easily fixed.  In fact, keeping the bigger portions for the third attempt.  Yes, we need one more.

Dough rose like a champ.


Look at those beauties.  All poofy and smooth.  In the oven they turned into these.


That's before they were buttered and sugared and cheesed, of course.  Problem was, those were the only two that stood up.  All the others fell over.  Too big for the cups they were put it.  So most of them were buns cascading down out of their cups or they just fell over.  Easy enough to fix though.  Just need to use a pan that won't allow them to slide down or maybe just don't use cups at all.

Other than that, they turned out really well.  Well enough, I had my sister taste test this batch.  Her remarks were that the flavor was there but she felt they were a touch stringy and not fluffy enough.  Not like the ones you get from certain commercial bakeries.  To which I balked.  I admit, I called her crazy.  I thought the texture was beautiful but I've taken her remarks into consideration.

Sunday, January 16, 2011

Recipe Failures

I've delved into the world of pastry in search of a good ensaymada recipe.  Looked online, looked in books.  Found online recipes that I later found in books.  It's pretty funny, the internet.  Someone says "This is the real homemade recipe from my grandmother." And then you find it in on the back of a box or somewhere on the net where someone else swears it's their aunt's recipe and no one else makes it like her.  What's also amazing, is the variety for one small sweet bun recipe.  Some take two days to make, some take three hours.  Some were a two step method, others were twelve.  I went for something in between.  Found myself an old recipe (because I like old recipes) out of a book with which to play.


Cute, but wrong

So what is ensaymada?  Derived from the Spanish ensaimada, it's a fluffy (though some will argue) twisted bun, topped with cheese, sugar and butter.  The bun is basically a brioche, enriched with eggs and butter.  It has a marked difference from it's Spanish predecessor which are traditionally made with pork lard.  It's eaten for breakfast or merienda (snacks in between meals), and is also popular for special occasions and gatherings like Christmas.

As for the recipe I found.  It was a failure.  I could actually see it right away.  Certain things didn't ring true to me.  But I liked the method so I thought I'd try it out.  The method for making the dough turned out really well.  Was happy with the results.  To make the dough, it's done in three parts.  First is the making of a sponge, giving that time for the yeast to develop.  Then there's adding half the dry ingredients and eggs and letting that rise.  And then there's adding the other hald of dry ingredients and eggs and butter, kneading that until you get a smooth, elastic dough and then letting that rise.  Once that's risen, you punch it down, portion it out, roll them, twist them and get them ready to bake.

The big problem with the recipe.  The ingredients.  Two things looked funny.  One was the yeast amount.  I've made doughs in the past, so when I saw 1 teaspoon of yeast for 5 cups of flour, it made me wonder if that was enough yeast.  And it wasn't just that amount that made me wonder, it was the flour itself.  Recipe called for bread flour.

Now if you don't know the difference between flours, here's the brief.  Flour has a protein in it called gluten.  Gluten is the thing which gives doughs their elasticity, allows them to hold their shape, and helps create a product's chewy texture.  It's ability to hold the shape of a dough is strengthened when you knead and work the dough.  That develops the gluten into longer strings.  So if you want 'tougher' bread that will hold it's shape, you knead or mix doughs and batters longer.  If you don't want it to be tough, then you do less kneading.  All-purpose flour has what we'll call an average amount of gluten.  It's called all-pupose because it can be used to make all sorts of bread, pastries, pie doughs, cakes, etc.  'Harder' breads, like the more rustic kind with the nice crust on the outside, soft and chewy on the inside, are made with bread flour which has more gluten than all-purpose.  And then on the other side, cakes and soft pastries can be made with cake or pastry flour which has the least amount of gluten and so you get fluffy, soft cakes.

So, here I am, wanting to make a fluffy, sweet bun and the recipe is asking for bread flour.  Alarm bells.  I chose to go half and half and see what happens.  Half bread flour and half all-purpose.   It wasn't working out.  The dough didn't rise as quickly as the recipe said it would.  It gave everything about 4 hours to go from start to finish.  But it took almost 16 hours before I could put it in the oven.

This is after 2 hours waiting for them to double in size.
They didn't.  But once again, still looks cute.

After the first rise I knew it wasn't going to work.  But you know what?  I'd put the ingredients together.  The dough wasn't disgusting.  It wasn't like I couldn't make bread out of it.  It just wouldn't be what I wanted.  So I finished them off.  Portioned, shaped and set them to bake.  Ended up with some cute little buns that were just way too firm and compact for what I wanted.  Tasted fine.  Texture, oh so very wrong.  Oh, and also, I didn't have enough cheese to put into the buns.  Shame on me!

On to round 2!

Friday, January 14, 2011

Recipe creation

So I have this dream of one day having my own little restaurant.  A little Filipino-American cafe.  Of course, in order to do that I need to have recipes.  That's the plan anyway.

Some recipes I do have from her.  Like her recipe for siapao dough or chicken salad or kare kare.  There are recipes galore for each.  But for some things I haven't found any like hers with just that particular taste.  I actually try to 'invent' some recipes with the help of my own memory and learned skills first.  And I say 'invent' because I don't really invent them.  There are enough recipes in existance.  I use them as reference, leafing through books and scanning the internet,comparing recipes and then adjusting them to what I want them to really be.  And what I want them to be is a dish that reflects what my mother would make.  It's all about my mother.  And her mother and who else knows beyond that.   I wish to honor them in the Filipino recipes I create.  When all else fails, then I turn to my mother.  But even then, sometimes I have to adjust.

That's the thing about recipes.  They're only references, only guides.  Sometimes recipes I reference need very little adjustment.  Sometimes they need alot.  When I receive a recipe from my mother, I try to adjust it very little.  But I've noticed over the years that different people even though they're following the exact same recipe will create slightly different versions if left to their own devices.  The difference being two things- the knowledge of technique and love.  Oh, yeah.  Love.  Love and attention.  People who care less, make careless food.  Simple enough.

And then most times I also have to consider how they will translate into a recipe for commercial use.  Because there can be a difference between how something is prepared in a professional and a home kitchen because of the volume, speed and plating size.  For example, the recipe for pancit from my mother is designed more for family gatherings, banquet style.  Make alot and let it sit for hours and have everyone partake when they want.  I would need to adjust it for made to order individual plates or small groups.

These are the trials and tribulations that every recipe goes through in order to become mine.  And why am I mentioning all this?  Because lately I've been on this kick to work some more on those recipes.  I've kind of worked on them on and off.  Whenever I make a Filipino dish at home, it's always with the notion that I'm trying to perfect it for my future dream.  But recently, I've been focused.  We blame it on too much free time, heh.  Which is a good thing!  So I figure I'd share some of the trial and tribulations of what I've been doing.

Monday, January 10, 2011

Gyro Brats


I didn't make these.  I bought these.  Had them for dinner with a little lemon dill rice pilaf and a cooked spinach, tomato and feta salad.  I know.  It's just a sausage.  But it's not just a sausage!  What makes an excellent sausage isn't what it looks like, but what's inside.  And I love these sausages.  Having that perfectly spiced, gamey lamb flavor packed into a sausage casing is just phenomenal.  And I just had to show them off for three reasons.

One, a friend said, "Blog about it!"  So I figured, why not.  Heh.

Two, so that I can mention that these gyro brats come from an excellent (thought slightly pricey but worth it) butcher called Paulina Market.  I was first introduced to Paulina so many years ago by a coworker who brought in this slab of beef jerky to share at work.  It was some of the best beef jerky I'd ever had.  And what I loved about it most was that it wasn't a thinly cut dried piece of meat, but a whole muscle, a full steak, smoked and dried.  So I started going to Paulina myself for that beef jerky.

Over the years, my purchases have expanded.  They make excellent sausages.  And that would be the other reason I go there.  It's what helps define a butcher for me.  Not so much what they carry in their raw meat cases, but what kind of prepared meats they make themselves.  And the variety of sausages, smoked meats and other charcuterie that Paulina delves into keeps me coming back.  Gyro bratwurst would be one of our favorites.

They do have an excellent selection of raw meats too, by the way.  And the staff has always been some of the friendliest and most helpful I've known.  If their price point wasn't more than I could afford, I'd be giving them my money for a ribeye steak or lamb shank much more often than I do.  It's rare.

And three!  I mention these brats and Paulina Market because I have some excellent friends.  For Christmas, some of them got together and purchased a gift card to Paulina for us.  And it was for an amount that put me into shock when I saw how much it was.  Their generosity is amazing, and I don't know how else to thank them for what they gave us.  Beyond what I've done already, which is thank you thank you thank you over and over and telling them I hate them for making me want to cry.  It was one more gift they've given us that has helped alleviate some of the stress associated with my unemployment.  And it means alot to me.

The brats, some beef jerky and, believe it or not, scrapple were our first purchases with the card.  They make great scrapple!  I couldn't buy beyond that because, like I said, I was in shock that day when I saw the amount.  And I think we're going to stretch and save most of what's left to use for some excellent grilling opportunities when the warm weather comes back.  Though I'm already giving consideration to what I might buy sometime in the next week to make something meaty and delicious.

A most blessed and gracious thanks to them once again.

Saturday, January 8, 2011

Falafels


I make my own falafels.  Ever since I made my first homemade batch, I can't go back to the boxed stuff.  It's so easy and tastes way better.  Not to say there aren't boxed versions that aren't good.  In some though, sometimes the flavors are too strong.  And there's always too much salt.  And I've had some where you can taste the baking soda.  But when you make it fresh, you get to flavor them the way you want, they fry up beautifully and are crunchy on the outside and soft on the inside, and you learn there's no reason for that baking soda.

First things first.  You need a food processor.  If you don't have one, it's harder to do.  Because blenders aren't built to do it and grinding by hand. . . grandma may have had the time and energy to do that, but I'm a modern gal.  Not too modern though.  Here's my food processor.  It's over 20 years old and still ticking.  If you don't have one, get one.  And find yourself a good hearty food processor that'll last you as long as mine has.

Next, you'll need beans.  Dry ones, and more specifically, garbanzo beans.  Of course, you can also use dried fava beans, which I did try once.  And they were tasty, but I like the garbanzo beans better.  Chalk it up to flavor familiarity.  Which ever bean you choose the first step is the same.  Add your dried beans to a container filled with four times more water than beans and let them soak overnight.  Don't cook them.  Just soak them.  Once they've rehydrated, drain them when you are ready to use them.  Just for kicks, I'm showing you what they both look like.
  
Garbanzo beans are the more familiar one.  Also known as chick peas, most people, I think, know them as a condiment in a salad bar.  They're also the main ingredient, after being boiled and cooked, in hummus.  We usually make some alongside the falafels as one of the condiments.

Soaked Fava, skin on


Favas beans are less familiar to the general public, I think.  I know I didn't know what they were until I started working professionally at finer restaurants where we got them fresh and served them with proteins such as lamb.  And until someone mentioned them to me as a possible alternative bean for falafels, I never thought too much more about them.

Fava beans, peeled


The dried ones, when soaked look like strange alien pods.  They have a skin on them that must be removed after they have softened from soaking.  Much friendlier looking once they've been peeled.  The skin can be discarded.  They don't get used in the falafel mix.


So, you've got all your beans all rehydrated.  And when you're ready to use them, you've strained from the water.  Next!

Onions and garlic.  If your using a one pound package of dried beans, one medium onion will be enough.  A few cloves of garlic.  Peel the onions and the garlic.  Cut the onions into chunks.  Toss it into the food processor with the garlic and grind it all up until finely chopped.
  
Once that's done, add everything else.  Your drained soaked beans, flour, and your herbs and spices.  I use coriander, cumin, a little dried red pepper, parsley (fresh or dried), salt and pepper.  That's it. 


All that gets tossed into the food processor and blended together until it becomes a moist, grainy dough.  It almost looks like it won't stick together, and when you shape it, you'll have little grains of bean meal stick to your fingers.  But the dough will form into the shape you want and stick together quite well.

Take up enough in your hand to make about a two inch piece, round or flattened, the choice is yours.  I usually flatten them a little so they fit better into things like pita for sandwiches.


Next, heat up your frying oil and when hot enough, carefully slip your falafel patties into the oil and cook them until they're a deep, golden brown.  They like to float to the top when they're done.


And here's what's on the plate of our typical falafel dinner.  Pita, made locally at Sanabel's Bakery.  An israeli salad made of chopped cucumber, tomato and onion, drizzled with olive oil and lemon.  Hummus, homemade, also very easy to make thanks to the food processor and something I have a hard time buying prepackaged from the store because of how simple it is.  And a sauce with a little chopped garlic, lemon juice, olive oil and sometimes dill mixed into yogurt.


Good stuff, vegetarian and healthy, well-balanced eating.  You won't miss the meat.  Falafels are hardy.  And it's fried!  You can't go wrong!